The Ultimate Guide to Staining your Fence or Deck
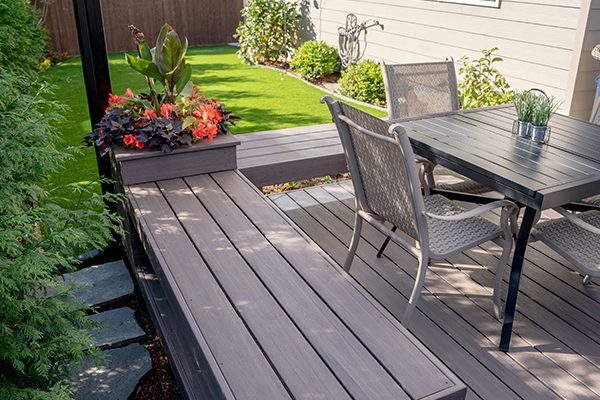
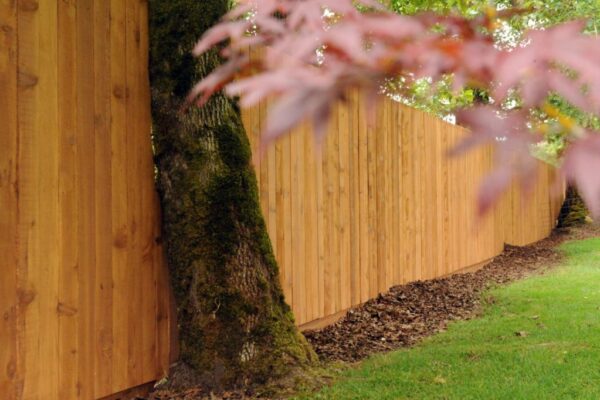
Why do the boards on my fence look all warped and cracked but my neighbor’s boards look perfect? Why do some fences in the Pacific Northwest go gray within a year and others look as beautiful as the day they were installed? How do I keep my deck boards from getting cracked and soft on the top? These questions all have the same simple answer: Stain your fence or deck!
Note: While Rick’s is a building expert, we do not offer stain services and our knowledge here is based on manufacturers and other experts in this field. For further information or clarification, consult your local paint/stain professionals.
Why stain?
Adding a coat of stain to your fence or deck doesn’t just make it look more beautiful. It protects the wood from things like UV rays, molds, and mildews. Stain also adds moisture and protection to your boards so your boards don’t dry out and warp when we hit those hot, dry days of summer. Stain your project with a product made for the Pacific Northwest. Look for UV inhibitors and mildewcides for the types of molds and mildews that grow in our wet climate. This basic step can add years to the life of your fence or deck!
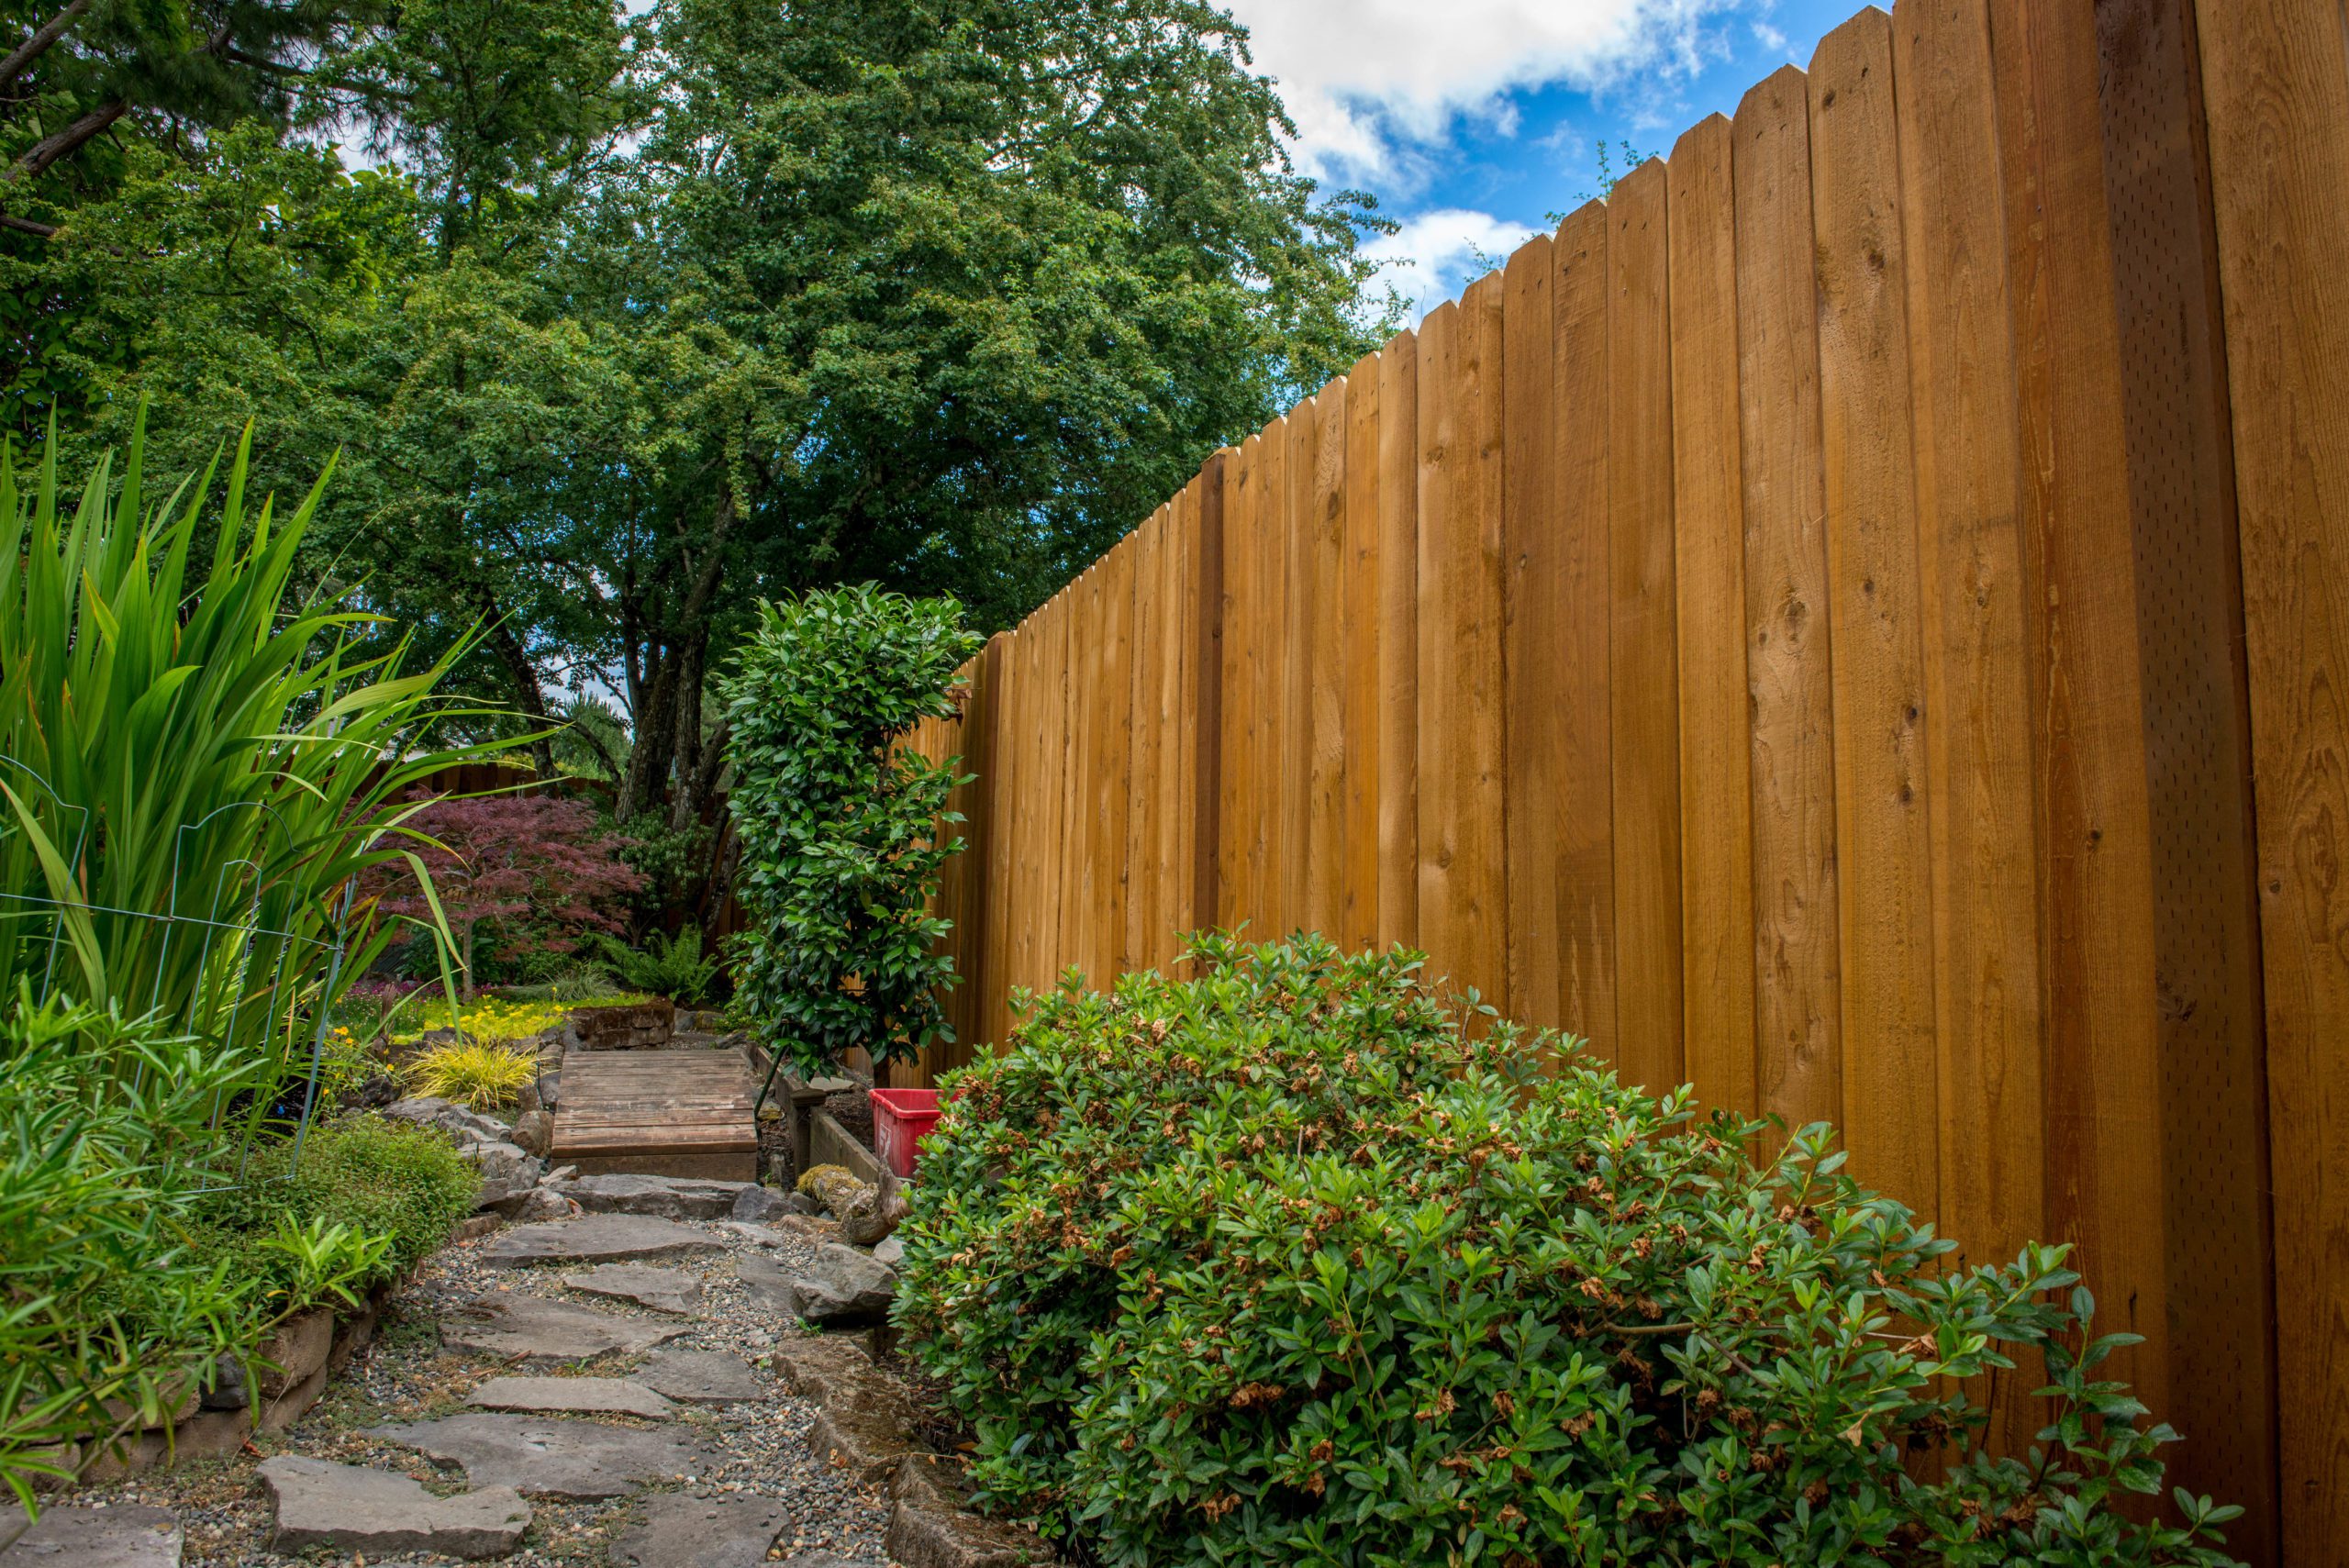
How to stain a deck or fence
Staining anything can be a big undertaking. Set yourself up for success by planning out how you’re going to tackle the project, ensuring you have the right tools, and completely reading the instructions of the products you’re using. Read on for our in-depth suggestions.
Step 1: Gather supplies
First, decide what tool you’re going to use to apply the stain. A paint roller made of foam or polystyrene fibers is a great option because it applies stain smoothly. A paint sprayer works well too, especially for fences, although this tool can take some time to get used to. A paint pad applicator can be easier and more accurate than both a brush and a sprayer. No matter what you use, you’ll also want brushes in various sizes for corners or small areas.
Don’t forget extra rags for cleanup, painter’s tape, a paint tray, and plastic for protecting other surfaces. Determine how you’ll clean up brushes at the end of the project and have any required solvents on hand.
Lastly, consider any protective equipment you might need, depending on personal sensitivity. This can include gloves, safety goggles, and a respirator.
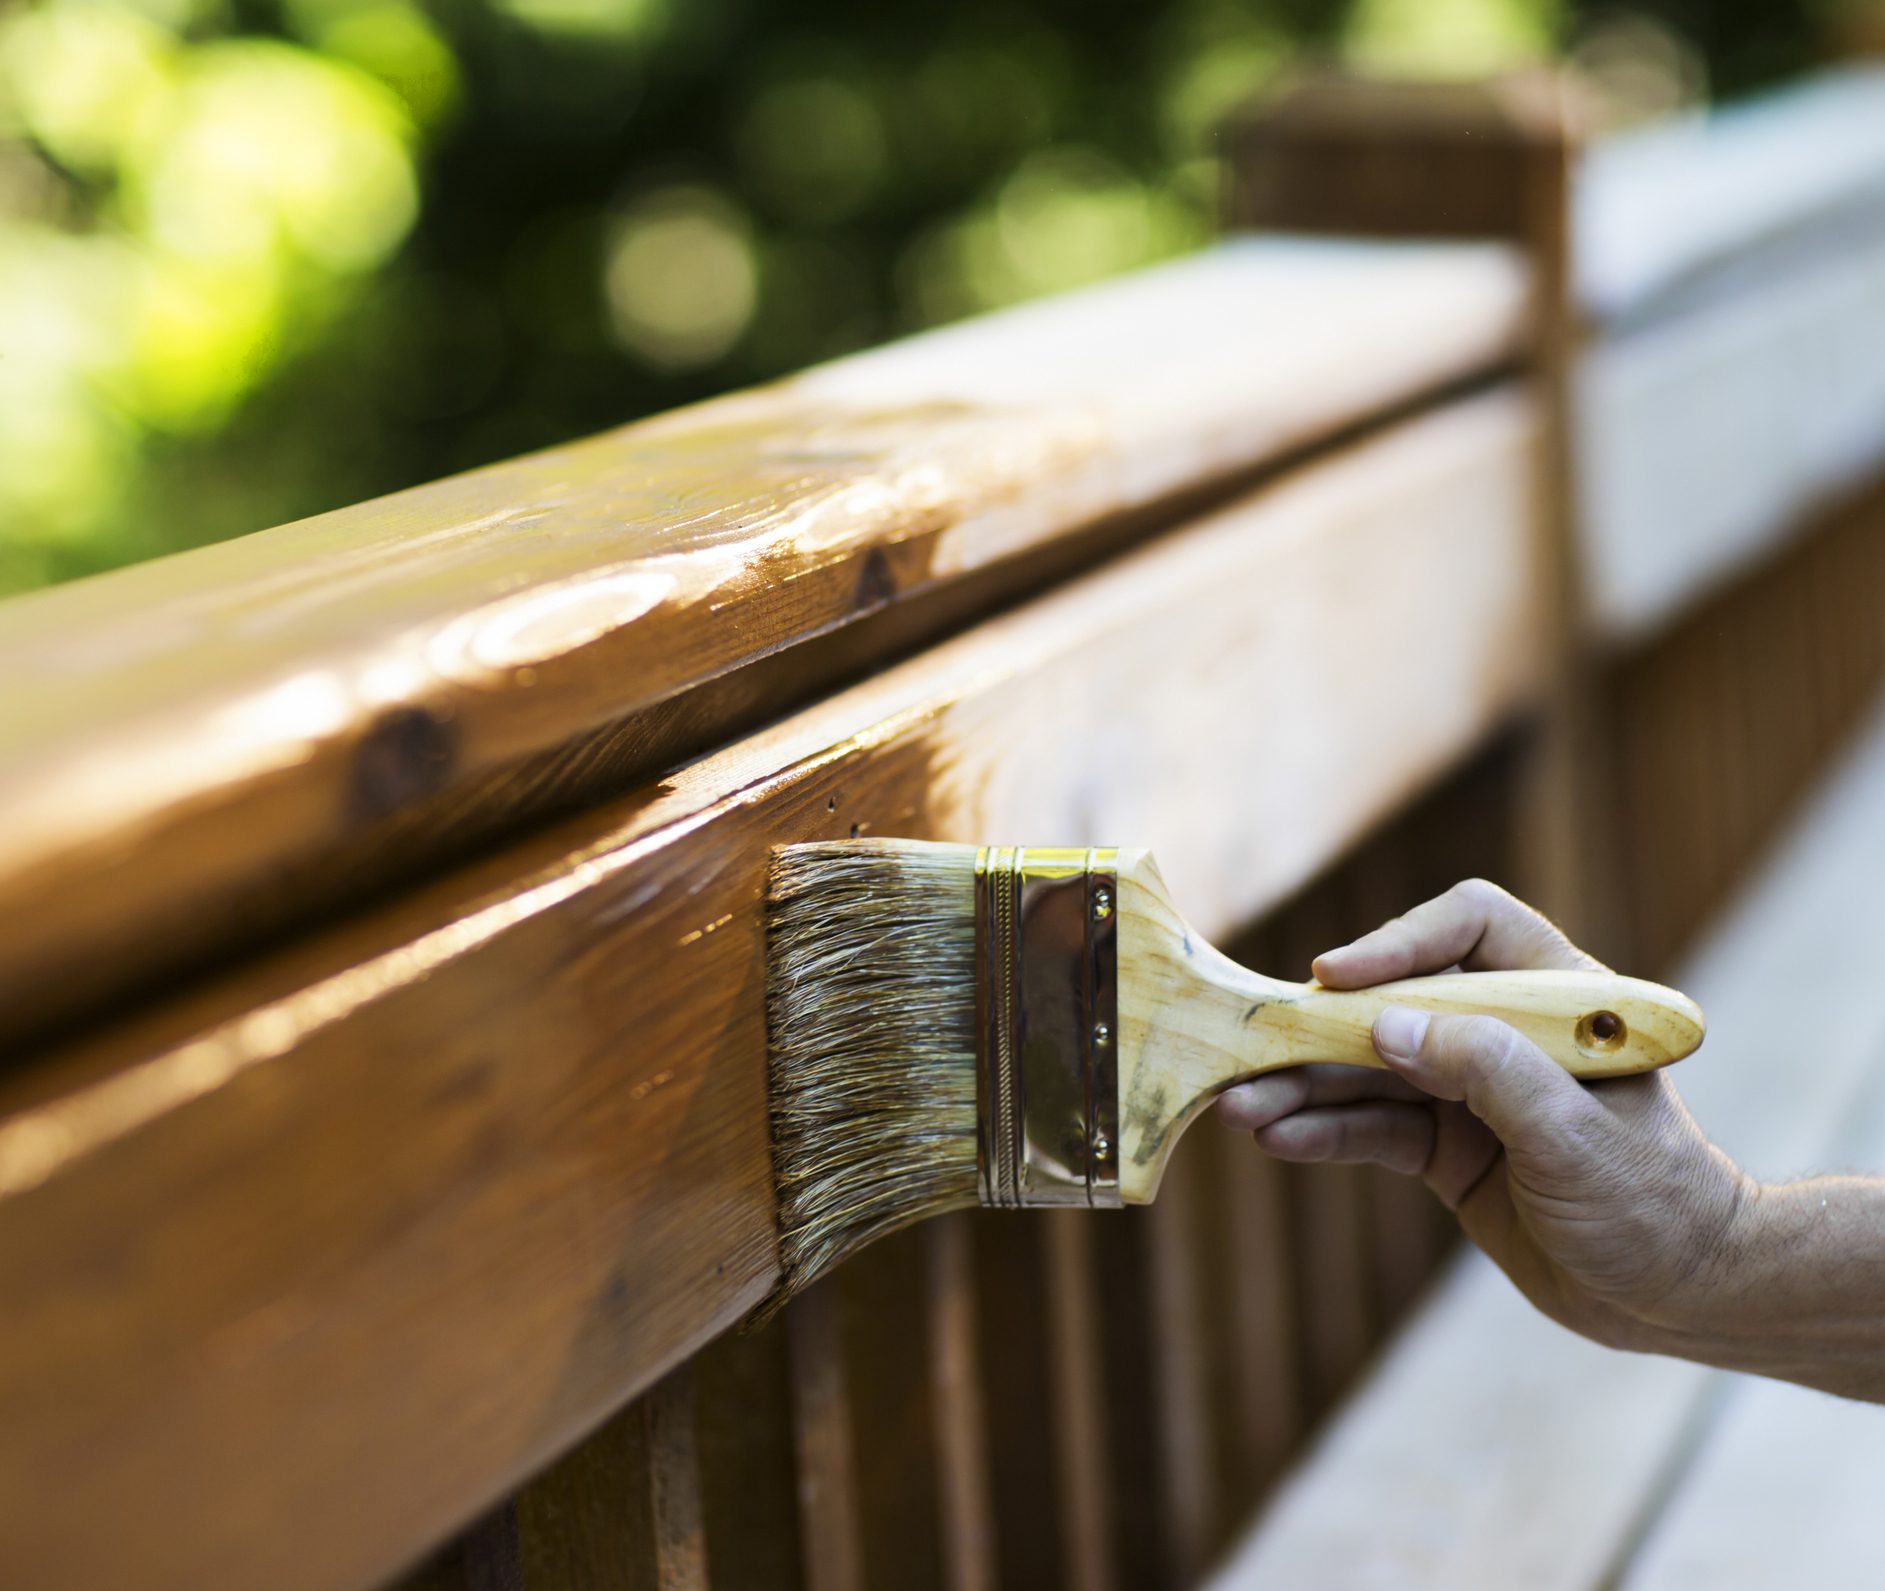
At Rick’s, we tend to recommend using a spray over a paint pad. It can be a great application although it works best with a team. Get your sprayer (approved for stain so the stain doesn’t clog the applicator) and have someone follow behind you with a roller or brush to even out the application and get those hard-to-reach spots at top and bottom.
Step 2: Consult the weather forecast
Weather conditions are extremely important when staining. You don’t want it to be too hot or too cold and it shouldn’t be too sunny. You also want to make sure it won’t be too windy and there won’t be any rain. So what’s a good Pacific Northwesterner to do? Here are some quick tips.
- Stain your fence or deck when the temperature is between 40-80 degrees Fahrenheit. If it’s too hot, the stain will not soak into the boards evenly and it will peel off in the first month. If it’s too cold, the stain won’t cure properly and it may not penetrate the wood.
- Apply stain in the early morning or the late afternoon. This helps to avoid the sun beating down on your surfaces.
- Stains usually need 24 hours to cure and you don’t want rain during that period. Check the weather forecast often!
Step 3: Prepare the area
This is where homeowners are sometimes tempted to cut corners but we can’t say this enough: don’t skip this prep. It takes a lot of work but it’s the most important part of the process. Careful attention to detail will yield the best results!
- Remove everything that’s on the deck or around the fence.
- Sweep the deck and remove all dirt, leaves, pollen, and other debris.
- Inspect the boards for damage and fix broken boards or screws.
- If staining a new fence or deck, there is no need to power wash prior to staining. Just hose off any areas that might be dirty and let dry before applying stain.
- If your fence or deck is older, a power washing can help remove previous stain or build up and create a smoother surface for application. It does require a great amount of finesse to not damage the boards. Test out a small, less visible section first to find the right amount of pressure.
- When using a power washer, use a 45-degree tip at 1200-1400 psi. Always spray with the wood grain.
- Rinse the boards of any cleanser and let fully dry.
- On an older deck, using a sander can be a great way to smooth the boards before application. Consider using a belt sander that can follow the pattern of the decking rather than an orbital sander, which can leave a circular pattern on the surface of soft cedar decking.
- Cover plants, concrete, siding, and anything else you want to be protected with plastic and/or painter’s tape.
If staining an older deck and you’re not sure how it was treated previously, test to see if there’s existing water-based or oil-based stain. Apply deck stripper to a small, out-of-the-way area. If, after 15 minutes, the stain can be wiped off, it’s water-based. If it can’t be wiped off, then it’s oil-based. Don’t apply a water-based to an oil-finished deck or vice-versa.
Step 4: Apply the stain
Now that you’re well prepared, it’s finally time to apply the stain to your fence or deck. No matter what tools you’re using, you always want to apply stain in long, even strokes.
- Stir the stain well and pour into a tray. You’ll also want to make sure you’re frequently stirring the stain since the pigments can settle.
- If you’re staining a deck, determine where you’re going to start and finish. You don’t want to stain yourself into a corner!
- Start by staining railings, posts, and handrails with a brush.
- Move on to the deck boards, using an applicator, roller, or brush.
- For fence staining, whether you’re using a brush or a sprayer, apply stain in sections of two to three feet.
- Use a brush to stain any cracks, corners, or problem spots.
- Clean the brushes and tray.
- Let dry for 24 to 48 hours.
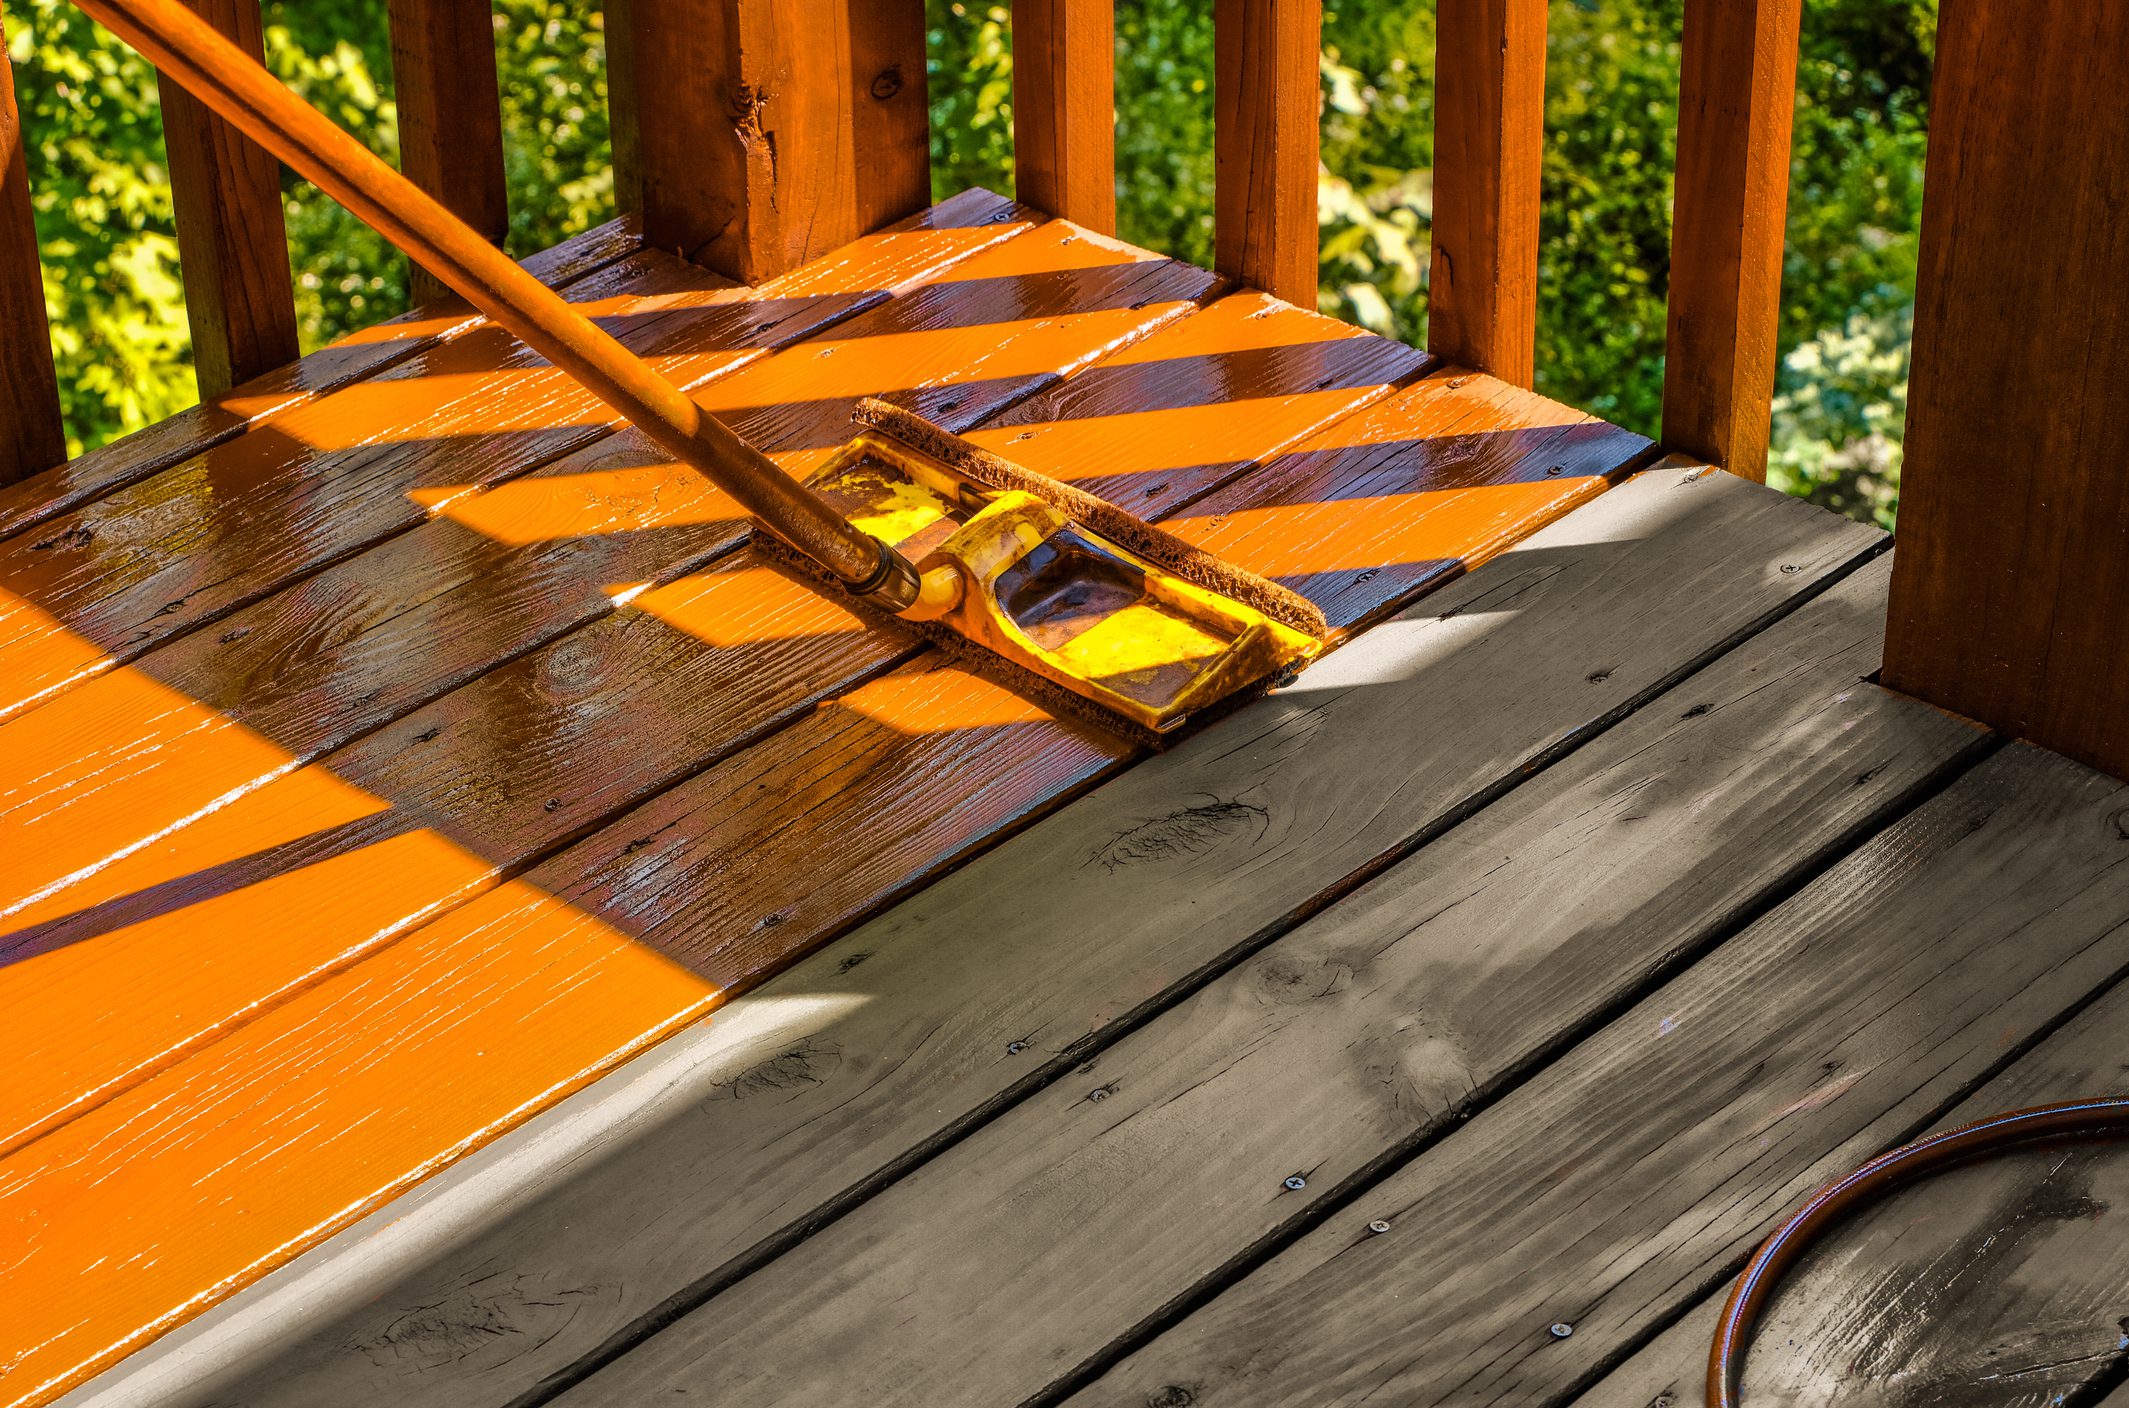

Important reminders:
- Less is more: A light layer of stain is enough to cover your project. Don’t put it on too thick or you’ll end up with a splotchy finish that peels off as soon as it dries. If you want a darker color or feel one coat isn’t enough, try adding a second coat after a few weeks.
- Make your tools work for you: When staining your boards, cut your paint pads or rollers to the size of your board so you get an even layer the first time.
- Do your homework: Always read and understand the manufacturers’ instructions prior to application.
A special note on safety: If you have stain-soaked rags or rollers, never throw them in the trash. Oil-soaked materials can spontaneously combust so it’s vital that materials are properly cleaned. Soak rags and rollers in water and let them fully dry before you throw them away. Clean your brushes well, too, by using a solvent like mineral spirits.
Deck-specific instructions (based on manufacturer’s recommendations)
Coverage
• New smooth wood: 200-250 sq. ft. per gallon
• New rough wood: 100-200 sq. ft. per gallon
Use a paint pad or brush to apply stain in an even layer along the length of each board. Finish must be applied at a rate that the wood will absorb. Do not allow the stain to pool or puddle on the surface of the wood. Wipe off excess stain with a towel or rag.
Fence-specific instructions (based on manufacturer’s recommendations)
Coverage
• Will cover 15-20 LF of a 6’ tall cedar fence on both sides (or 30-40 LF single side)
Use a spray gun or backpack sprayer to apply stain in a thin layer. Finish must be applied at a rate that the wood will absorb. Do not allow stain to drip or run down the fence. Work continuously from top to bottom, keeping the leading edge wet to prevent lap marks.
For best results, after spray application, use a roller and/or paint brush to even out sprayed-on stain while it is still very damp.
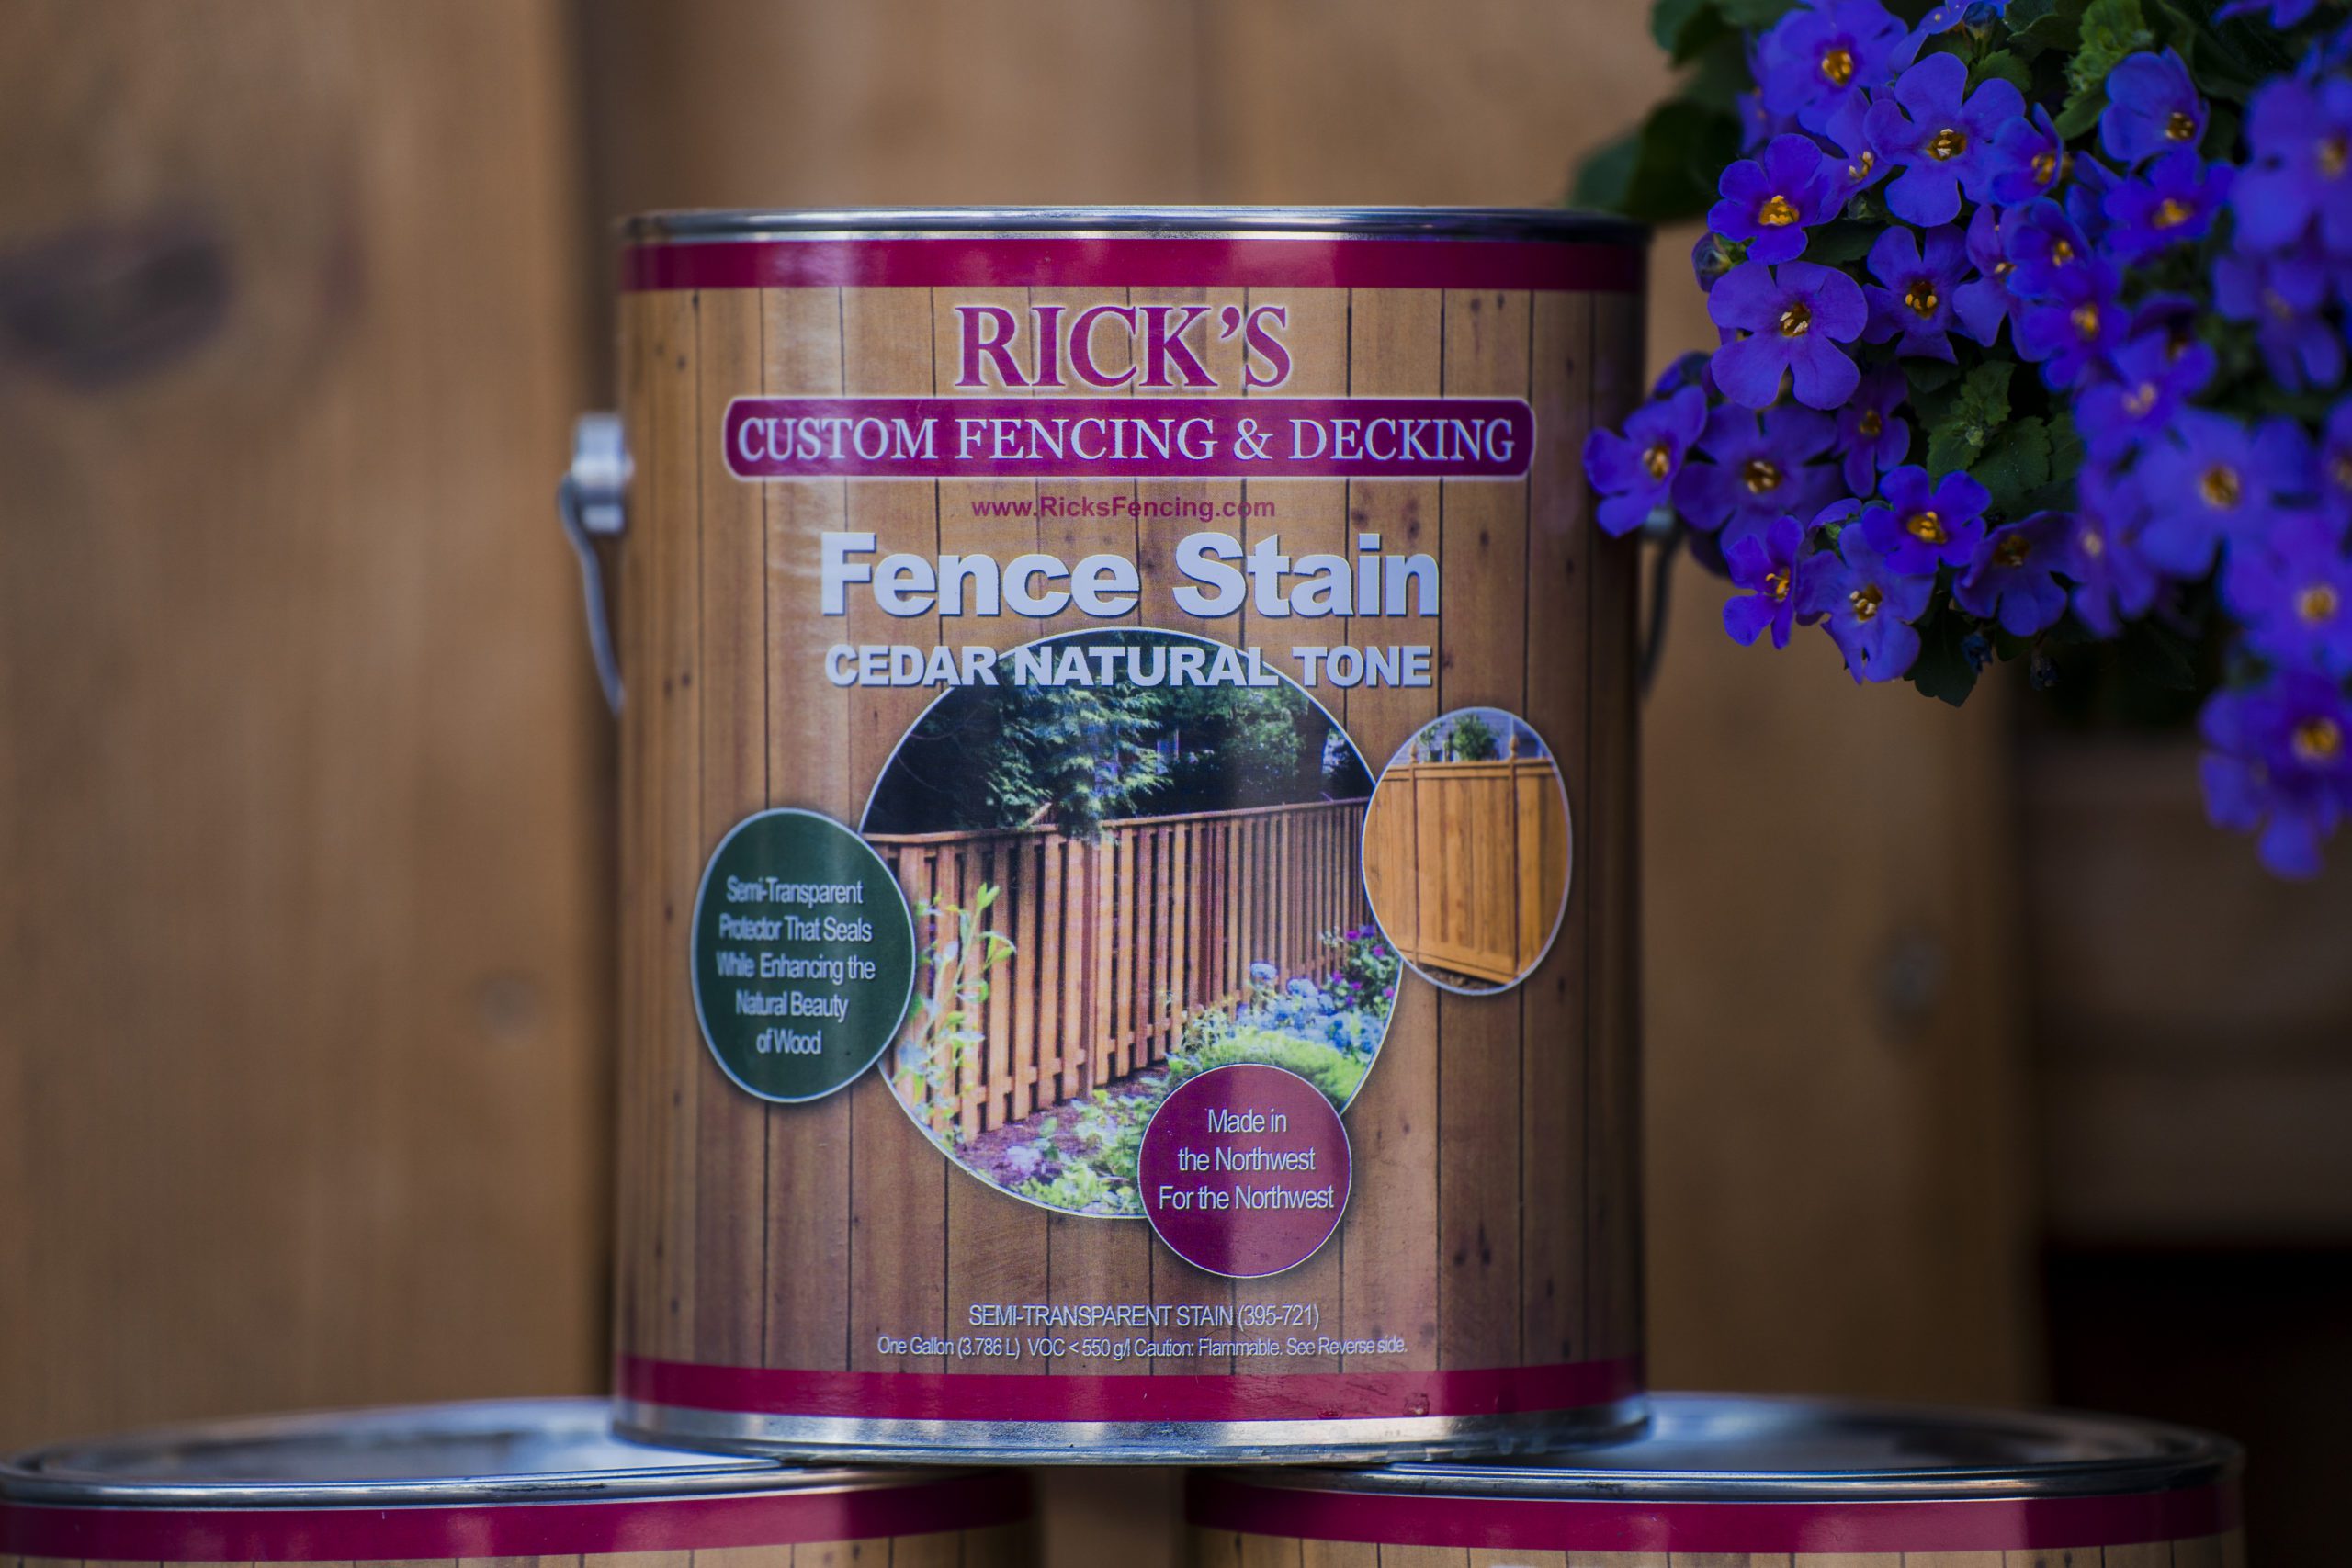
Purchase Rick’s Pacific Northwest-made fence and deck stain! Visit your nearest Rick’s location.
Ready for a new fence or deck?
If you’re ready to upgrade your outdoor space, contact Rick’s Custom Fencing & Decking for a free estimate. Learn why we’ve been trusted throughout the Pacific Northwest for over 40 years!
